This tutorial aims to give a text-based overview of launching a GVL instance on CLIMB.
GVL is the Genomics Virtual Laboratory, originally developed for Nectar. It’s implemented on CLIMB because it provides out-of-the-box support for lots of simple (microbial) bioinformatics jobs. There’s minimal fuss with installing software and configuration as this is mostly automated. You can see Tom and Nick overview this in a video here.
Key concepts and terms
-
Instance: A cloud server or VM. Generally exposed to the internet and accessible by SSH or sometime a web browser.
-
Flavour: The hardware attributes of an instance. Currently two flavours are available on CLIMB; User (4 vCPUs and 32 Gb RAM) and Group (8 vCPUs and 64 Gb RAM).
-
Volume: The cloud equivalent of a disk. All CLIMB servers are launched on a 120 Gb volume. If you need more space, follow Tom’s tutorial for creating and attaching volumes here.
-
Image: The operating system that is installed on your instance before it boots. Most common Linux flavours AND GVL are available at all of the sites, but if you’d like something more esoteric, please make a request.
-
Bryn: The CLIMB launcher at https://bryn.climb.ac.uk and Welsh word for hill. Combines information from all of the above to create, stop and restart instances to your specification.
The Bryn Dashboard
Begin the tutorial by browsing to https://bryn.climb.ac.uk, and logging in. After login, you are presented with the Dashboard:

This page lists the currently running instances for your group. Instances at each site are displayed on different pages. Use the “Change Region” dialog to swap between regions, making sure you hit the “Change Region” button below the dropdown to actually change region.
There is currently one instance running at Warwick in the Microbial Bioinformatics team: “this-is-a-demo-GVL”.
Launching a GVL instance
From the dash board page, open the “Launch a Genomics Virtual Laboratory server” dialog
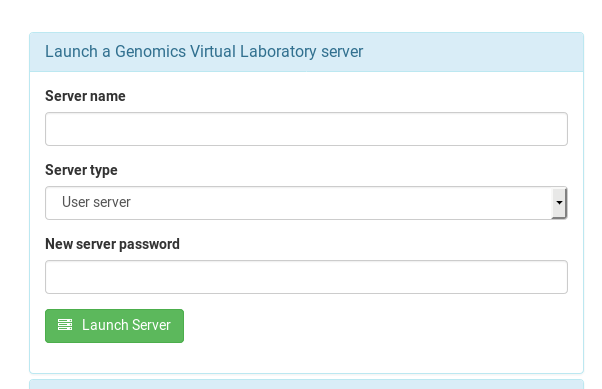
Enter a name for your instance / server, select either the User or Group flavour. I suggest you give your instance an informative name, as it is visible to everyone else in your team:
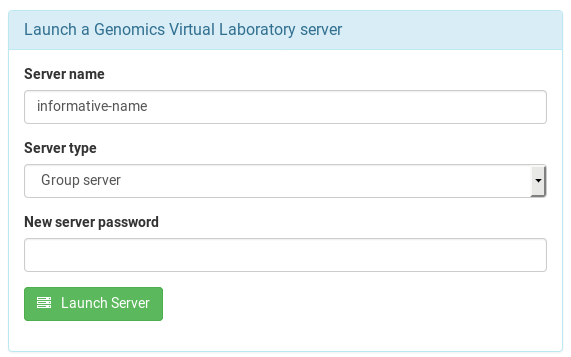
As all of these instances are exposed to the internet, please give your instance a very secure password. Any word you could find in a dictionary is no good, and I would suggest it having at least 10 characters. The [XKCD-style password generator] (https://xkpasswd.net/s/) might be helpful here.
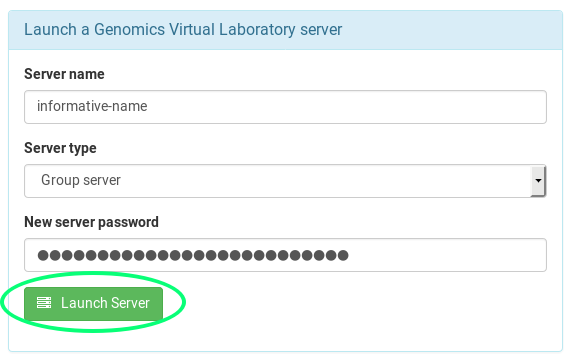
Then hit “Launch Server” and wait until the icon stops spinning and your instance appears in the list:

How do I access my GVL instance?
Because GVL has lots of goodies built in, it takes a while to completely initialize and become ready to work on.
The first thing to become ready is the webserver that runs on top of your GVL instance, displaying the instance web page. You can access this by clicking the hyperlinked IP address on the Bryn Dashboard, to get to the page below.

This instance isn’t yet fully ready, as the Galaxy service hasn’t finished initializing.
You can check the progress of your GVL instance using the <IP_address>/cloud link from your instance webpage.
There are also details on this page about how to SSH to your instance. Briefly, use the following approach:
-
From a terminal emulator:
ssh ubuntu@<instance ip address>
Enter your password when prompted (it won’t be displayed on screen) -
From PuTTY (or equivalent)
Hostname: <instance ip address>
Username: ubuntu
Password: <the instance password from above>
What software is built into GVL?
GVL comes with some helpful bioinformatics software built in, alongside the package manager Linuxbrew, which can be used to install further software or update what’s already there.
brew search
will show you a list of currently available packages
This is a non exhaustive list of what’s currently installed, but should get you started:
FastQC
Trimmomatic
bwa
Bowtie2
samtools
bedtools
SPAdes
prokka
snippy
R