OpenStack uses volumes to store data. Think of volumes as a hard disk that you can attach at will to one of your virtual servers. There are a few steps to attach these to an instance, that will be detailed here.
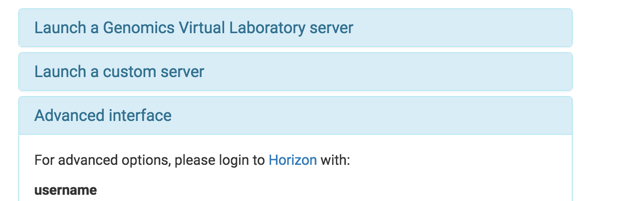
First, you need to log into the advanced control panel - called Horizon by selecting the advanced interface box. This box has a link to the Horizon login and your username and password
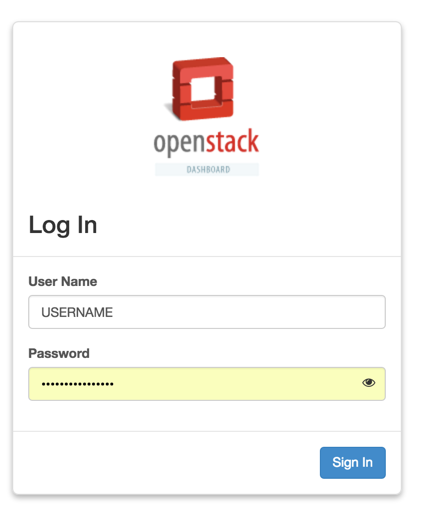
Go to Horizon and put your details in:
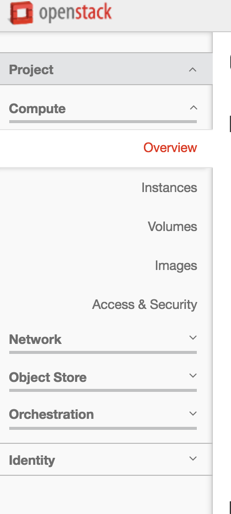
You can then view the volumes by clicking on the volumes button, located on the left of the screen you are presented with once you are logged in:
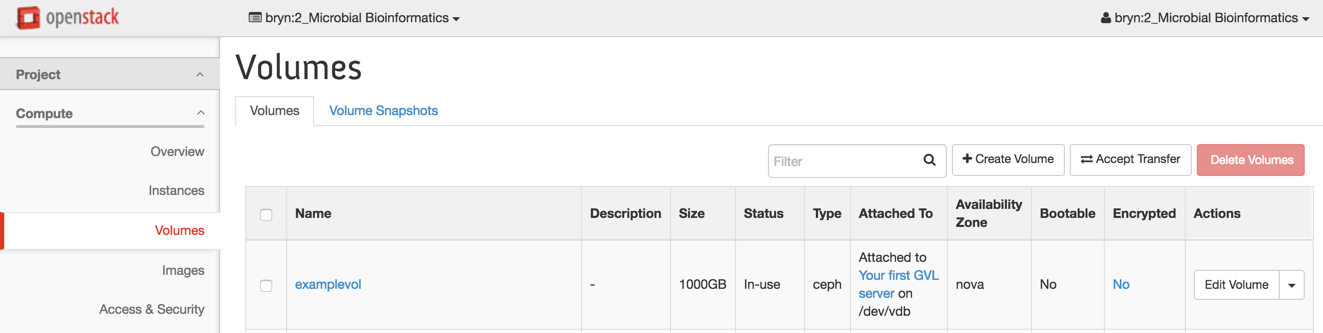
This will give you a list of all the volumes that are part of your project;
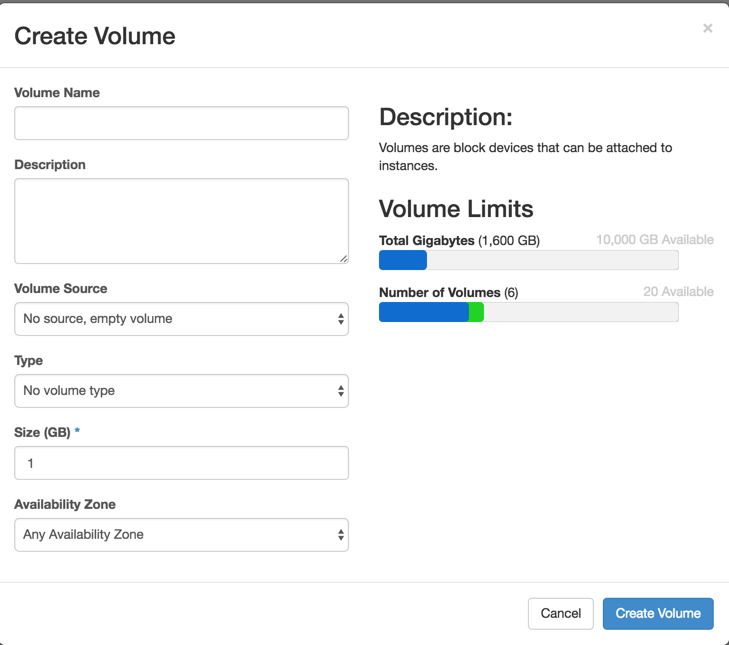
To create a volume, select the “Create Volume” button, located to the top right of the list of volumes
This will present you with a form to fill in:
Provide a volume name, select “ceph” from the volume type and input the size you want the volume to be. The interface tells you how much of your quota this will use;
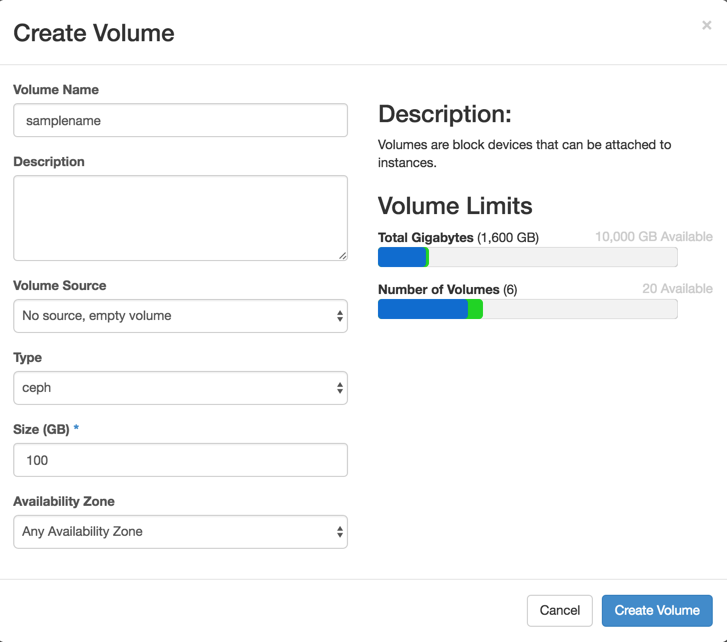
Once you are happy, hit create volume, and a new volume will appear at the top of your list:

To attach this to a VM, you need to tell openstack to do this;
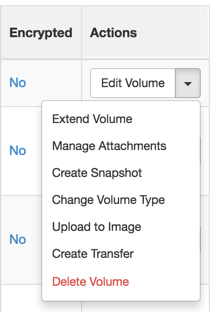
select ‘Manage Attachments’ and then choose the instance you want to attach it to;
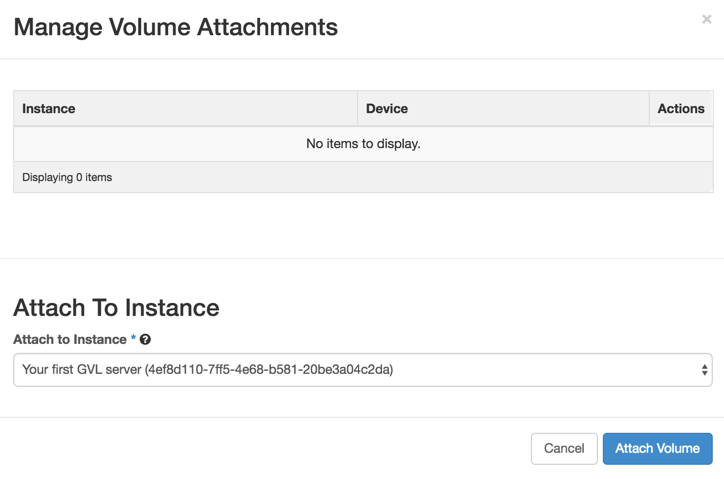
This will then show it is attached;

at this point you can log into the system, format and mount the volume.
First, find the device ID of the volume that you’ve just attached:
lsblk
sda    253:0    0  120G  0 disk
└─sda1 253:1    0  120G  0 part /
sdb    253:16   0    2T  0 disk /home/ubuntu/sdb
sdc    253:32   0    2T  0 disk
Here the there are two attached volumes: /dev/sdb, which is already mounted, and dev/sdc, which has just been attached.
Next, create a filesystem on the newly attached volume…
Creating a filesystem on a volume is DESTRUCTIVE, see the WARNING below! To create a filesystem, run the command:
sudo mkfs.xfs /dev/sdc
This will create the filesystem. Then you can mount the volume in your space:
mkdir example
sudo mount /dev/sdc example/
because the volume will have been mounted as root, you need to make sure that your user has ownership. In this example the user is ubuntu:
sudo chown ubuntu:ubuntu example/
At that point you should be able to use the volume you have created;
lsblk
NAME   MAJ:MIN RM  SIZE RO TYPE MOUNTPOINT
sda    253:0    0  120G  0 disk
└─sda1 253:1    0  120G  0 part /
sdb    253:16   0    2T  0 disk /home/ubuntu/sdb
sdc    253:32   0    2T  0 disk /home/ubuntu/example
WARNING!
After you reboot your instance, your volumes will be UNMOUNTED but still ATTACHED.
To remount them, simply
lsblk
To find the device name (looks like /dev/sdX), then
mount /dev/sdX [mountpoint]